|
Image Wrapped Cover Design
Posted by Sophie T on 13 May 2015 04:15 PM
|
|
|
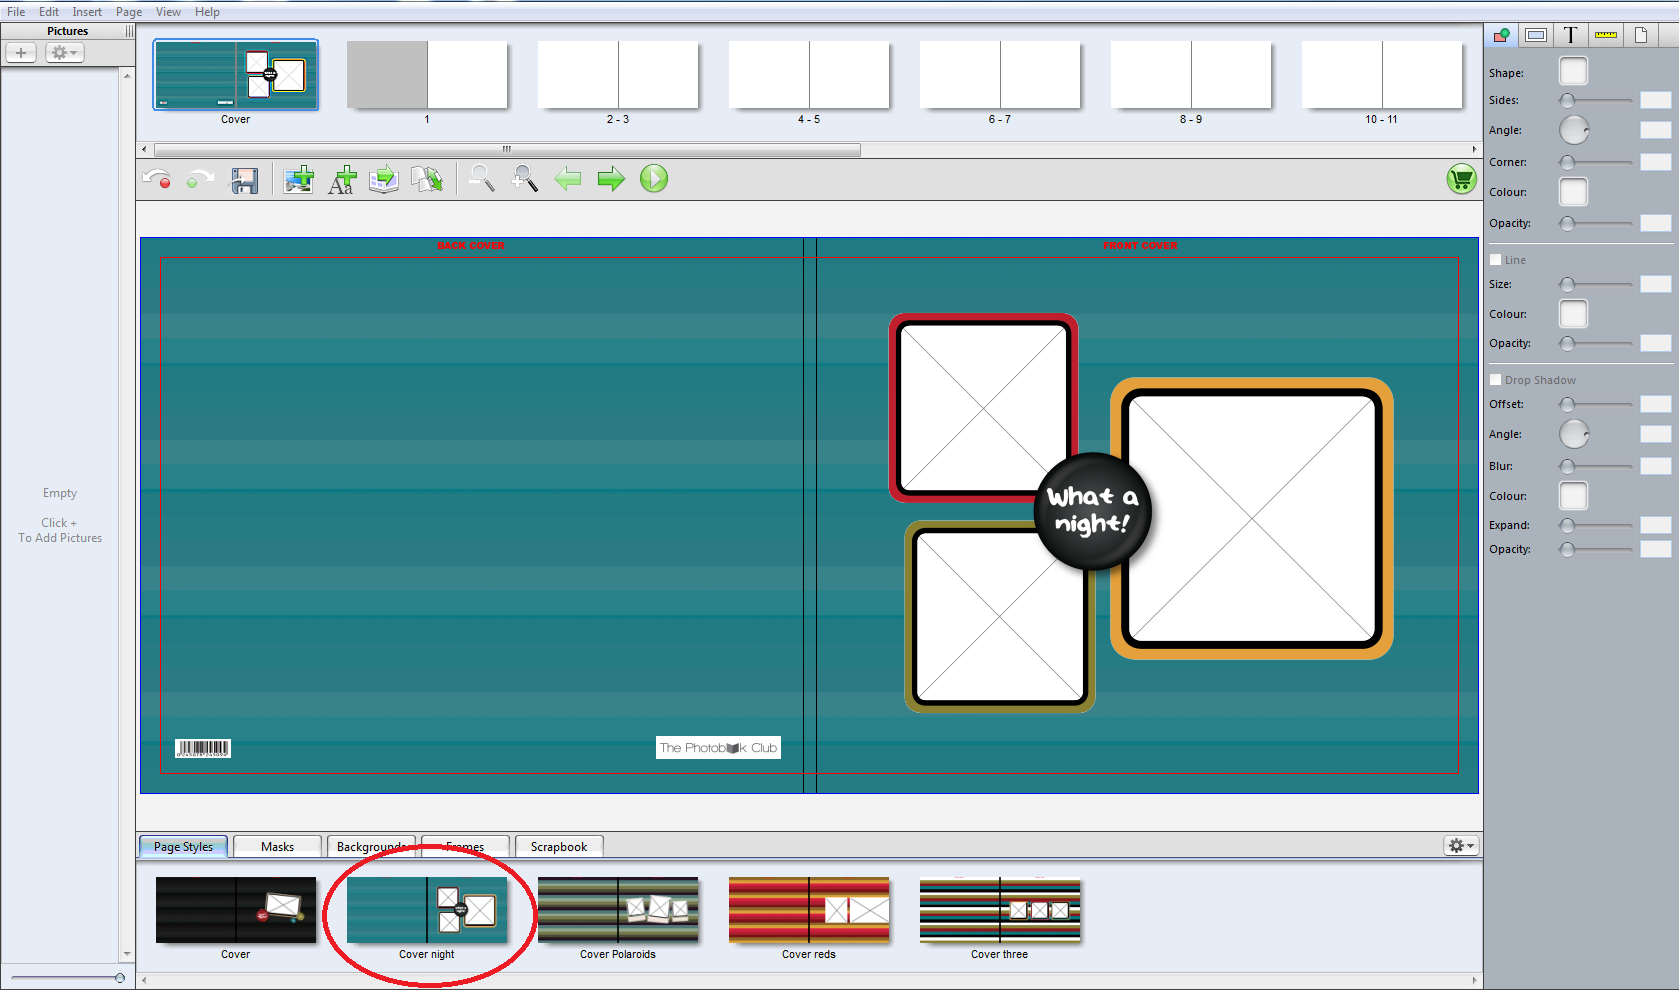
Please follow the instructions on how to create your cover: Our photobooks come with image wrapped hardcovers (unless you are ordering one of our Softcover Photobooks). Click on Page Styles at the bottom of the software and choose a template you like. Click and drag one of the templates up onto the cover page.
You can then drop your photos into the photo boxes and double click on the text to amend (if you want text on the cover). If you do not want to use any of the templates provided in Page Styles, you can simply click and drag your photos onto the page.
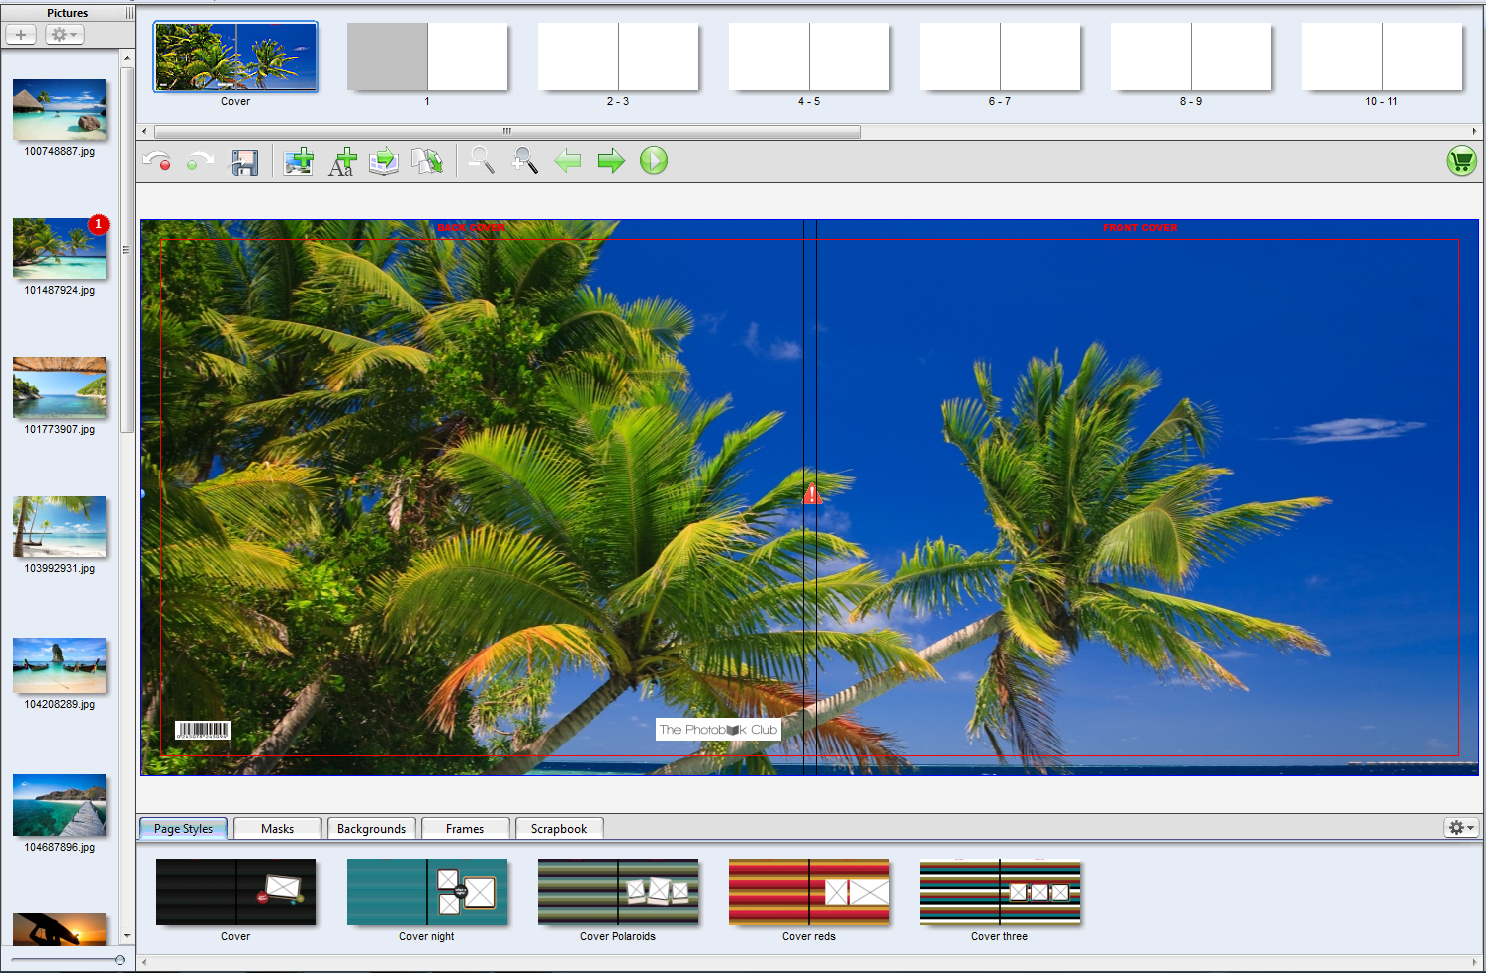
If you are wanting a full page image, drag the image onto the page then right click on it and select Fit to Spread. The photo will need to be stretched all the way to the blue line, past the red line.
Please note that for all text on the cover we do recommend keeping it at least 1cm within the red lines to avoid being wrapped around the cover when it is being made. | |
|
|