
Knowledgebase: Using The Designer
|
Move Project
Posted by Sophie T on 14 May 2015 07:37 AM
|
|
|
You may need to move a project to another computer if you are having trouble connecting to our server due to your internet connection or if you have a new computer.
To move your project to another computer you need to do the following: 1. Install our software on the new computer. This can be downloaded from our website again if you need to, please follow this link to do so - http://www.photobookshop.com.au/index/download
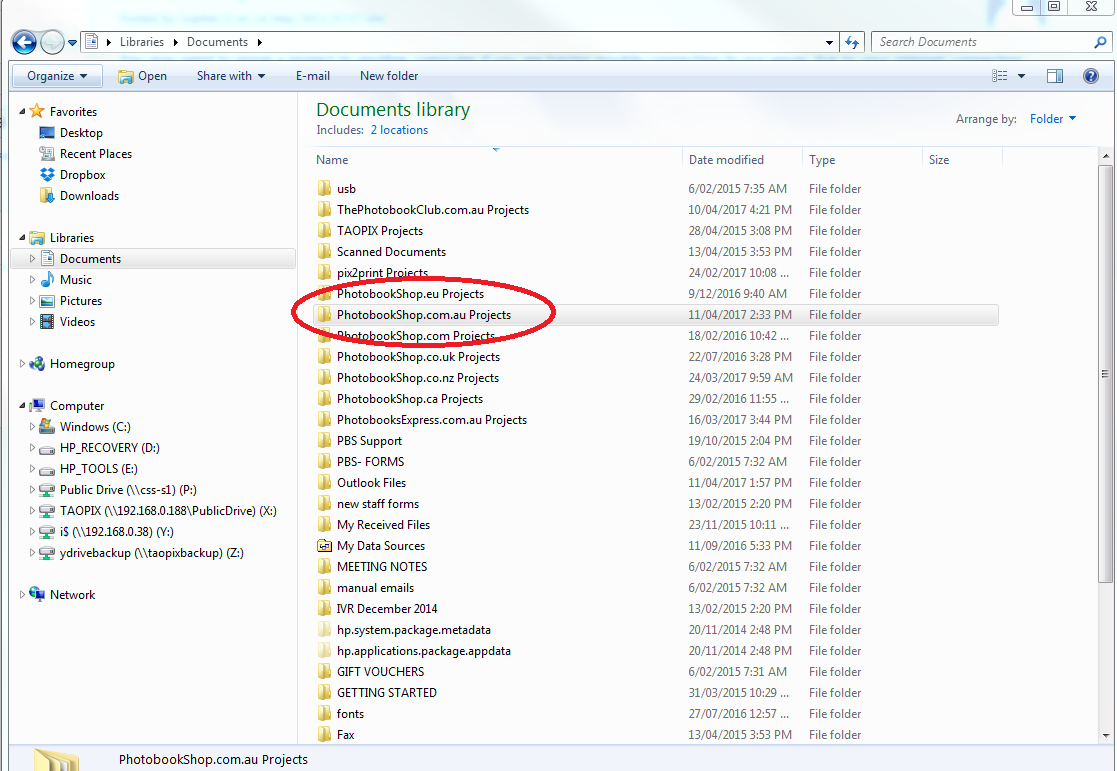
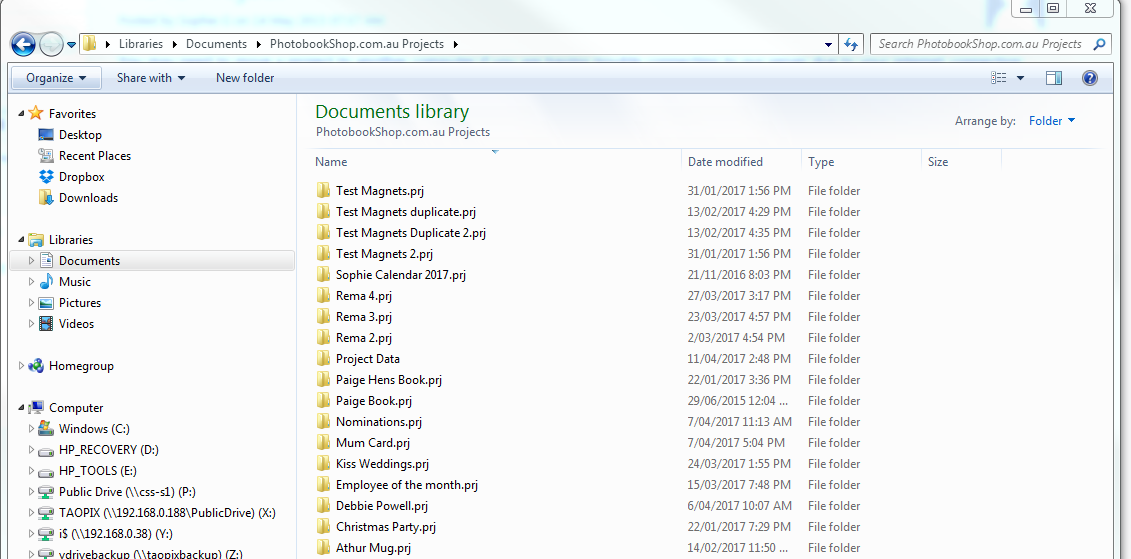
2. Find the 'PhotobookShop.com.au Projects' folder on the original computer, this is located in your My Documents folder if using a Windows PC, or your Profile folder if using a MAC (folder with your name in Finder), and copy this onto a USB Drive, Portable Hard Drive or CD.
  3. Copy ALL the photos and images used in your project into a single folder, copy these onto the same USB Drive, Portable hard Drive or CD.
4. Copy the 'PhotobookShop.com.au Projects' folder from the USB or CD to the new computer. This need to go in the My Documents folder if using a Windows PC, or your Profile folder if using a MAC (folder with your name in Finder) so our software can detect it.
5. Copy the folder where you placed all of the photos and images used in the project to somewhere you can remember, e.g. Your Desktop or My Documents folder, as you will need these soon.
When you open the project again it may prompt you to find the missing images. Click on Find and update the new location of the photo. When you tell the software where the first image is, it will scan the folder for all the other missing images and find/update them.
If you need any help with setting up a project on a new computer please contact our friendly Customer Support Team.
| |
|
|
Comments (0)